
Quick summary – who this checklist is for and when to use it
You probably need to pick an ai image editor for your website, marketing assets, or product pipeline and the vendor pages leave you with more questions than answers: which tier actually covers commercial licensing, how many credits translate to real output, and whether team seats are needed today or later. The solution is a repeatable, numbers-first comparison process that turns features and headline prices into per-month, per-image, and per-seat costs so you can decide objectively.
Quick answer: compare pricing tiers by normalizing monthly usage units (images/API calls), adding licensing & overage risk, and scoring support and admin controls — not just headline price. For context, MSRP ranges commonly seen in the market are: Free; Hobby $8–20/mo; Pro $20–50/mo; Team $50–250+/mo; Enterprise $1k+/mo. Remember EU vendor pages often show VAT-inclusive prices; check local tax and currency conversion before you sign.
When NOT to use this checklist
Do not apply this checklist when you need a one-off creative or are evaluating experimental R&D prototypes without clear output requirements. Skip it if your decision hinges solely on a single exclusive feature (for example, a unique model available nowhere else) because the checklist favors repeatable, measurable cost comparisons. Also don’t use this method when legal counsel has already mandated a vendor by contract; pricing comparison is moot in that case.
What ‘pricing tier’ usually includes (definition and checklist)
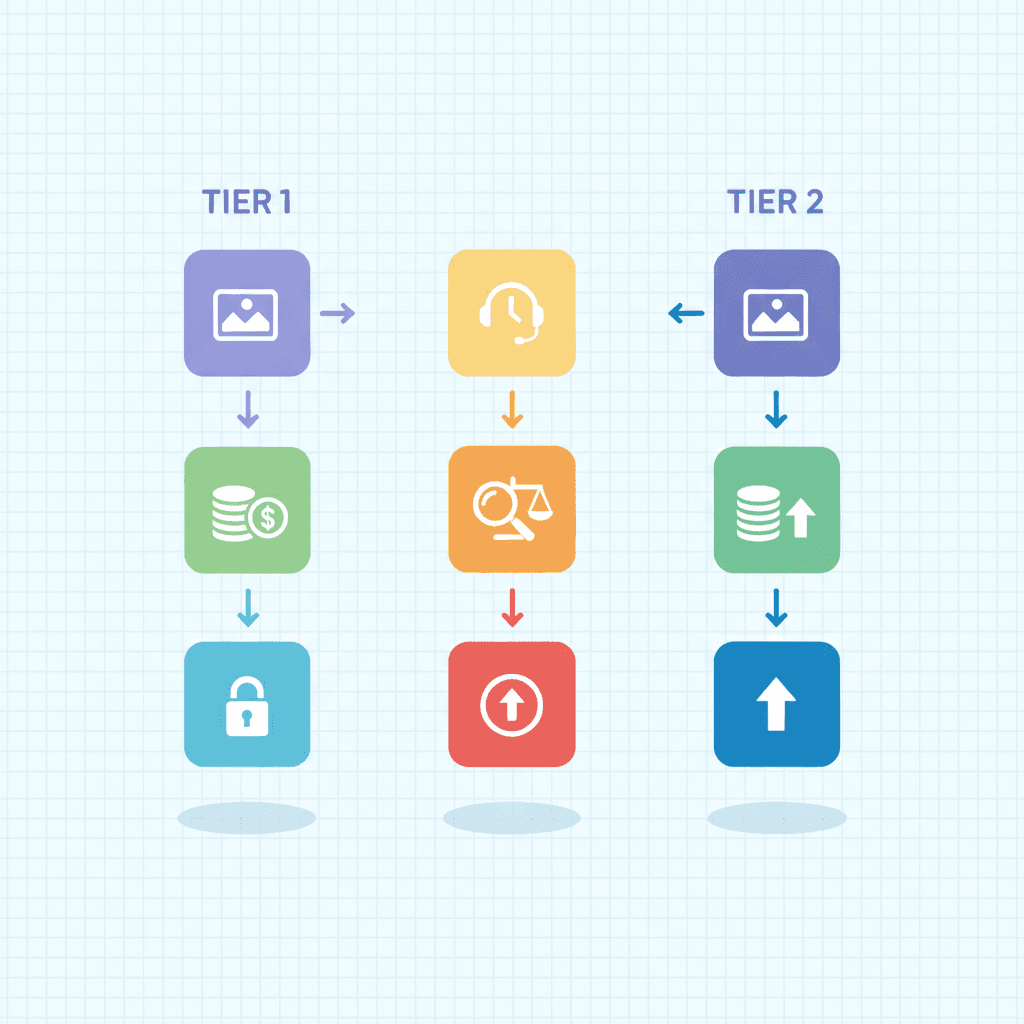
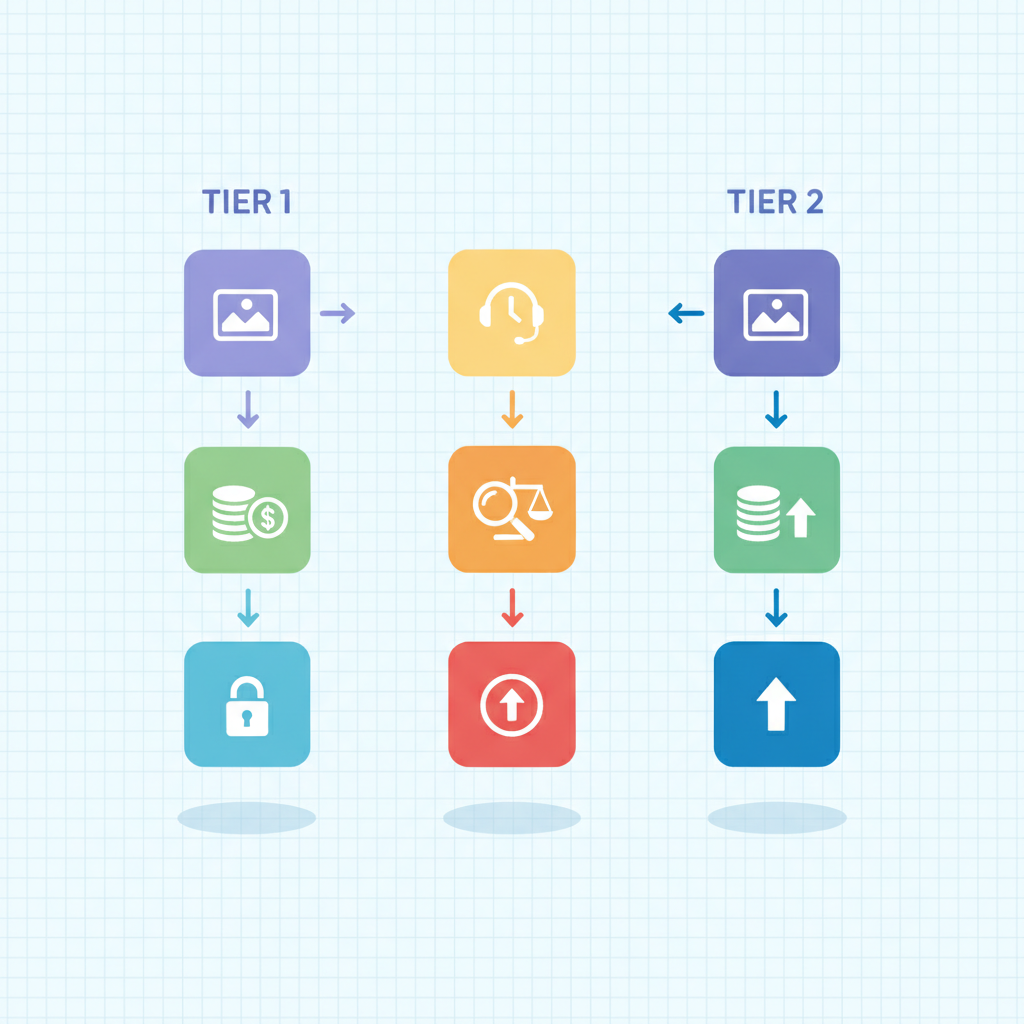
Define "pricing tier" as a bundle of four elements: features (what tools and models are unlocked), usage allowance (credits, images, API calls), license terms (commercial use, copyright, watermarking), and support/SLA (response time, dedicated account manager). That bundle determines true cost, not the advertised monthly headline. For more on this, see How to evaluate ai tool pricing.
Checklist (copyable):
- Feature set: models, templates, batch processing, API access.
- Usage allowance: images/month, credits, API calls, and overage rates.
- License & output limits: commercial license, attribution, watermarking, and copyright transfer rules.
- Support & SLA: email, chat, phone, and any uptime or response guarantees.
- Team controls: seats, admin roles, billing transfer, single-sign-on.
Compare tiers by normalizing monthly usage units (images/API calls) and adding licensing & overage risk — not just headline price.

Quotable definition: "A pricing tier bundles feature access, usage allowance, license rights, and support into one purchasable package."
Access (features unlocked per tier)
Access means which creative and technical features are available immediately in a tier: model families (high-res vs fast), batch exports, image-to-image, inpainting, plugin integrations, and API endpoints. In practice, hobby tiers often limit export resolution or block API access; pro tiers unlock high-res exports and commercial model variants; team and enterprise add collaboration tools and SSO.
Example: if you need background removal plus batch resizing for 1,000 images/month, verify the tier explicitly lists batch jobs or API endpoints that support that workflow. If only the Enterprise tier includes API access, the per-image cost for automated workflows will be far higher than the headline price suggests.
Usage allowances (credits, images, API calls)
Usage allowances define the volume you get and the cost of going over. Vendors present them in credits, image counts, or API call buckets — they’re not interchangeable unless you normalize them. Convert credits to images using vendor documentation (e.g., 1 credit = 1 image at low-res, 5 credits = 1 high-res image) or test with a sample batch to measure actual credit burn.
Concrete step: pick a 30-day window and estimate images, batch jobs, and API calls. Multiply by model-specific credit rates, then calculate monthly cost under each tier including overage charges. This reveals when a slightly higher subscription saves money versus pay-as-you-go overages.
Output limits (resolution, commercial license, watermarking)
Output limits affect usability and legal risk. Check whether the tier allows high-resolution exports, removes watermarks, and grants a commercial license. Some free or hobby tiers produce watermarked images or restrict commercial use; upgrades remove those limits. Also confirm whether the vendor claims copyright transfer or only a limited license.
Practical example: for product photography you need 3000px exports and a clean commercial license; if the Pro tier only permits 1080px, you either upgrade or accept extra post-processing costs to upscale images — include those costs in your comparison.
Support & SLAs
Support can be the difference between a minor delay and a missed campaign launch. Tiers often advertise email support for hobby users, chat for Pro, and account managers or SLAs for Team/Enterprise. Map support availability to your tolerance for downtime: marketers often need 24–48 hour response; product teams integrating APIs typically require faster, prioritized support.
When comparing tiers, list expected response channels and any stated SLA. If SLA details are absent, treat support as best-effort and price potential downtime into your decision.
Step-by-step checklist to compare two tiers side-by-side
Follow this sequence to turn vendor pages into a direct comparison: 1) capture headline price and currency, 2) extract allowances and overage rates, 3) list features tied to each tier, 4) note license and watermark policies, 5) record support channels and seat limits, 6) normalize to per-image or per-API-call cost, and 7) score each tier on cost, capability, and risk.
Score tiers by total expected monthly cost, licensing risk, and admin overhead; pick the lowest-risk option that fits your baseline workload.
Worked example: compare Hobby ($12/mo) vs Pro ($35/mo). Assume you need 300 images/month and the vendor charges 0.05 credits per low-res image and 0.25 credits per high-res image. Translate those credit rates into per-image costs, add overage scenarios for a 20% burst month, and include any required seat fees. The tier with the lower headline price can still cost 2–3x more once overages and license upgrades are included.
Map your use case to needed features
Write a one-paragraph statement of your core job: e.g., "I produce 300 social images/month at 1080–2048px, require batch background removal, and need commercial licensing for client work." Then mark which tier delivers each line item. If a tier misses one must-have, treat it as a disqualifier unless a documented workaround exists.
Normalize units (images/month, credits, API calls)
Create a single table that converts all vendor units into images/month and API calls/month. Use your typical and burst months as two columns. Multiply by vendor credit rates or per-call costs and produce a monthly cost projection for each tier. This converts opaque vendor math into apples-to-apples numbers.
Account for team seats and admin controls
If you work with collaborators, count seats and admin features separately. A vendor might advertise "team" but limit seats or charge per-seat fees. Include seat costs times your current team size plus a 20% buffer for growth. Also factor in SSO and audit logs if compliance matters — those can push you to a pricier tier quickly.
Real-world examples (3 sample creator personas: hobbyist, freelancer, studio)
Hobbyist: creates 30 images/month for social posts, tolerant of watermarks and limited support. A Free or Hobby tier typically fits; choose the Hobby tier if it removes watermarks and stays under the allowance. Freelance designer: 300 images/month with commercial licensing needs and occasional bursts. Compare Pro vs Team tiers with normalized per-image math and include client invoicing risk from license terms. Small studio: 2–5 seats, API automation, SSO, and high-res exports — Team or Enterprise is usually required; prioritize admin controls and SLAs over small headline savings.
Quick scoring matrix you can copy (score/weight example)
Use a 0–5 score for each axis and weights to reflect priorities. Example weights: Cost 40%, Licensing 25%, Features 20%, Support 15%. Multiply scores by weights and sum to get a final value that compares tiers objectively.
| Axis | Weight | Tier A score | Tier B score |
|---|---|---|---|
| Cost | 0.40 | 3 (1.2) | 4 (1.6) |
| Licensing | 0.25 | 2 (0.5) | 5 (1.25) |
| Features | 0.20 | 4 (0.8) | 4 (0.8) |
| Support | 0.15 | 3 (0.45) | 4 (0.6) |
| Total | 2.95 | 4.25 |
Decision rules: when to upgrade, when to buy credits vs subscription
Rule of thumb: if your projected monthly spend on overages exceeds the price delta to the next tier for three consecutive months, upgrade. Buy credits only for one-off bursts or unpredictable workloads; subscribe if your baseline monthly usage is stable. If licensing or admin features are required, upgrade regardless of marginal cost — legal and operational constraints beat per-image savings.
Concrete threshold: when expected overage cost > 75% of the monthly upgrade cost for two months in a row, switch tiers. For unpredictable spikes, cap exposure by choosing a tier with predictable pricing or explicit burst allowances.
TL;DR checklist + downloadable one-page comparison table
Quick checklist to copy: 1) capture headline price and currency, 2) list included features, 3) convert allowances to images/month or API calls, 4) compute per-image cost including overage, 5) confirm license and watermark rules, 6) score and apply weights, 7) check team seats and support. Use the scoring matrix table above as your one-page comparison artifact.
Further reading and next steps
Next: run a 7–14 day trial where possible, export sample images across models to measure credit burn, and save each vendor's terms for licensing review. For directory users on xproductlist.com, capture tier details in your product notes so future comparisons are faster and auditable.
FAQ
What does it mean to compare pricing tiers for ai image & photo editors? Comparing pricing tiers means evaluating bundled feature access, usage allowances, license rights, and support to calculate the realistic monthly and per-image cost and legal risk for your use case. For more on this, see Evaluate pricing tiers ai image editor.
How do you compare pricing tiers for ai image & photo editors? Compare tiers by normalizing units (images, credits, API calls), translating allowances into per-image costs, factoring in overage scenarios, verifying license terms for commercial use, and scoring support and admin features against your priorities.